This article will teach you how to interface a Fire Alert to Gmail using Raspberry Pi. Smart Lighting is a #technology where the system can make a decision on its own and can turn the lighting on/off, change colors, etc. using voice recognition, #sensors mobile app, and many other condition-based technologies. Let us not wait anymore and jump into the circuit right away.
List —
1. Raspberry Pi: Raspberry Pi is a single-board microcomputer that utilizes the SoC, DDR RAM #memory, Ethernet port, USB host, and micro HDMI. It provides the possibility to interact with the outside world and using its processing power in a compact board at a low cost. In this application, we have used the Python IDE to simplify it.

2. SD Card for Raspberry Pi: It is important that we use the right Micro SD for storing and installing the Pi in the system. It is always recommended to use a class-10 SD card that is capable of storing all the information regarding the #RaspberryPi from installation to application.

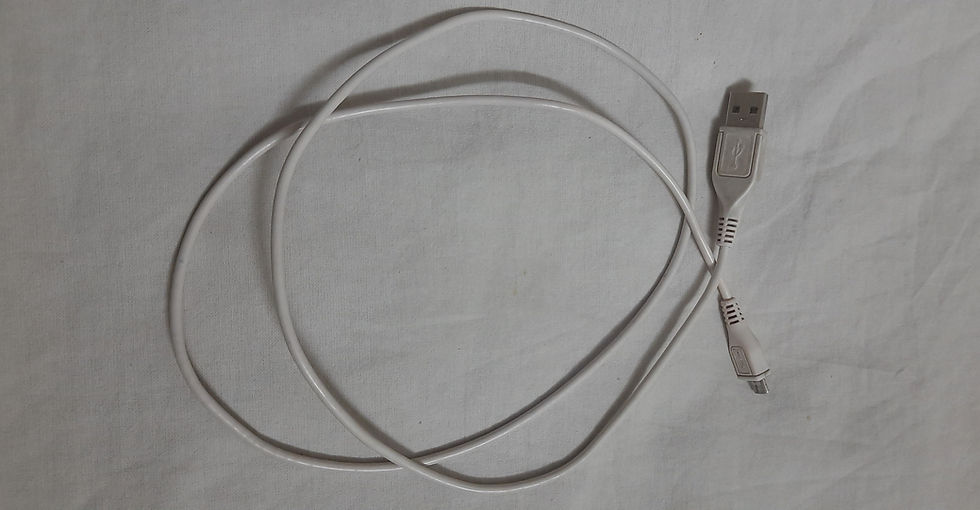
5. USB Cable for Raspberry Pi: This cord is used to temporarily connect the Raspberry Pi to the #power supply.

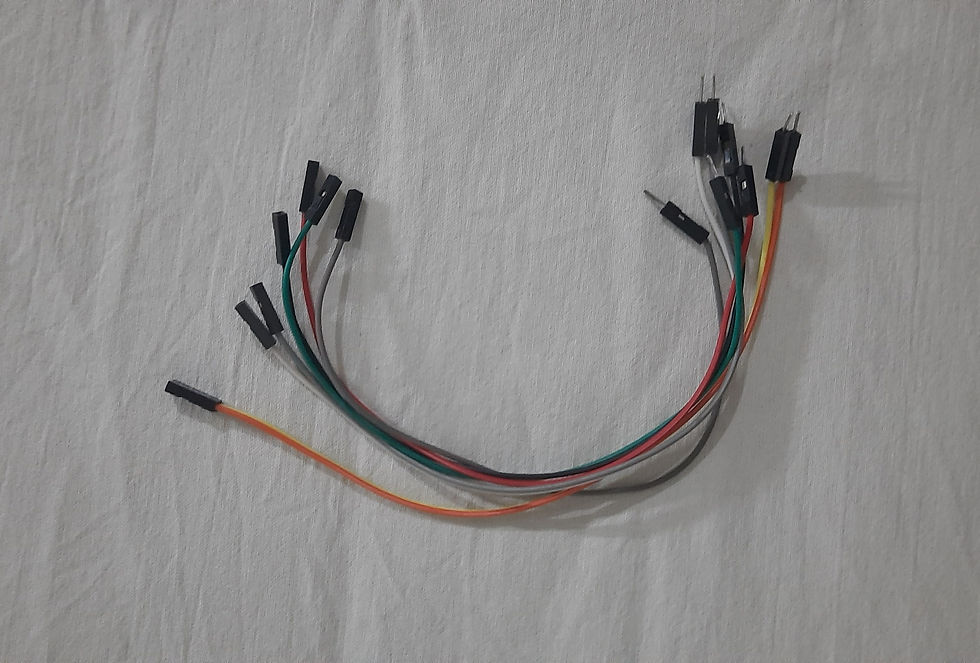
4. Connecting Wires (Male-Female): As simple as it looks, these are used to connect ends without soldering. While male wired have protruding pins to plug into things, female jumpers are the ends that are used to plug into.

5. LDR: An LDR or a Light Dependent Resistor is a sensor that varies the resistance of the component depending on the intensity of the light that falls upon its surface. This is one of the most important elements that we need in a #smartsystem and we will see this working in detail.

6. Ceramic Capacitor: The ceramic capacitor is a fixed value capacitor that can store #energy and it called so as it is made using ceramic material. The metal layers in this component act as electrodes and are made using two layers of ceramic.

7. Breadboard: This is the surface where all the components are connected and help to connect any basic circuit without soldering.

Circuit:
The circuit as shown below has an LDR which is connected to one of the pins of the capacitor. This is used for drawing the resistance values based on the time-constant concept. The other end is connected to the ground. The point where the LDR and capacitor are getting connected together is known as a junction. This junction is connected to the Raspberry at GPIO 27 and the other end is connected to GPIO 17.
The LEDs used in this circuit represent the light bulbs at our homes and are connected to GPIOs 18, 15, and 16 as per the board naming. The GPIOs are correspondingly connected to the resistors which are connected to anode and cathode is connected to the ground.
The next task is connecting all this to the cloud, sync the data, and get widget-based visuals. In order to configure the ThingSpeak cloud, we need to sync the data in the server and get real-time analysis and widget-based visuals. By doing this, the setup can be made and seen on a software basis.
Setting up the cloud: By going to the ThingSpeak website, we can understand the basics behind this technology and use it for prototyping and proof of concepts, mainly in the field of IoT and Analytics.
Sign in or Sign up according to your login credentials and set up a new channel and fill the fields according to your preference. Once the setup is done, the channel is all yours.
All the widgets necessary for this particular for this project have already been added, but you always have the freedom to add the ones that wish to and modify the widgets depending on the purpose.
The LDR values have been set up, display settings, and fields modified. The units, intervals, and range are given according to the necessity of the hour. The LED status fields can be enabled completely according to your wish as there are so many options to choose from according to your preferences.
Once this is all complete, the program can be run and you are good to go with the channel.
Hardware Implementation:
The LDR sensor is connected to pins 17 and 27 along with board pins 11 and 13. The circuit also consists of a 0.1 uF capacitor and LEDs all connected to the Raspberry.
After completing this step, if we go to the terminal and run the program, we will be able to see that raspberry is running and the gauge is going up; the LED status will be switched to HIGH.
Download the code from here.
Check the Project working video here - Smart Lighting System using ThingSpeak IoT Cloud and Raspberry Pi
SEE ALSO:
Order Electronics Projects
Want us to guide you through your project or make the project for you? Click on the button below or reach out to us via Call/WhatsApp at (+91) - 7600948607
You can -
Order Basic Electronics Projects
Order Embedded Systems Projects
Order IoT Projects
Order FPGA Projects
Order VLSI Projects
Order Image Processing Projects
Order Matlab Projects
Order TinkerCAD Projects
Order Proteus Projects
Click on the button below to fill out the project inquiry form -
Create Various Projects
Check out our Free Arduino Projects Playlist - Arduino Projects
Check out our Free Raspberry Pi Projects Playlist - Raspberry Pi Projects
Check out our Free TinkerCAD Projects Playlist - TinkerCAD Projects
Check out our Free IoT Projects Playlist - IoT Projects
Check out our Free Home Automation Projects Playlist - Home Automation Projects
Check out our Free NodeMCu Projects Playlist - NodeMCu Projects
Follow us -
Please do follow us i.e. #learnelectronicsindia to get daily updates about new blogs, videos, courses, products, offers, competitions, quizzes, and Internship Opportunities.

Hats off to the author for presenting the technical aspects of the project in a simple and approachable manner. It's evident that the team behind this blog understands how to communicate complex topics effectively.
LearnElectronics India simplifies complex concepts beautifully. Thank you!